The strings of a violin cannot last forever and will eventually need to be replaced. They might be worn out, starting to unwind, or even totally snapped and if you’ve not changed them before restringing your violin may seem like a daunting and challenging task. But don’t worry as taking the process step-by-step will allow you to have your violin’s strings changed in no time.
There are several things that you should understand when changing the strings that are on your violin and in this post, we’re going to walk you through each step as well as some useful tips before you start changing them. Let’s start with knowing which strings you’re going to use.
Deciding Which Strings to Use
Before you change the strings of your violin, you will need to find a new set of strings that you’re happy with.
You can use the same brand of strings that are already on your violin or you can search for a new set of strings.
There is a multitude of options for you to choose from when you are shopping for violin strings.
When choosing violin strings, there are not really any right or wrong options for you to choose, just good and better options for the sound that you want to produce and the style of music that you want to play.
Even after understanding the characteristics of the different strings that are available on the market, it can be hard to determine which strings to choose.
Your choice of strings depends on the sound that you would like, your instrument, and your playing style.
For more information, check out our violin strings buying guide here.
Types of Violin String Materials
Violin strings use three different types of core material:
- gut
- steel
- synthetic
Gut core strings, which are developed using the intestines of sheep, have low tensions and produce rich tones.
Steel core strings are developed using steel and other elements to produce strings that have clear and responsive sounds.
Synthetic core strings are developed with synthetic materials and produce a wide tonal range for violinists.
Violin String Guages
The gauge of a violin string refers to the string’s width and you will find strings with many different gauges as you shop for a new set of violin strings.
The E-string of a violin, for example, typically has a smaller gauge than a violin’s G-string.
Violin strings that have higher gauges tend to produce warmer and louder tones than their lower-gauged counterparts.
However, violin strings that have lower gauges typically produce tones that are more responsive.
As you look for strings for your violin, you will have three gauge sizes to choose from; thin, medium, and thick.
Thinly-gauged strings are also labeled as “weich” or “dolce” by manufacturers.
Similarly, strings that have thick gauges are alternatively labeled as “stark” or “forte” by string manufacturers.
Violin String Tensions
Violin strings also have different tensions.
The tension of a violin string has a direct effect on the tone that the string produces.
A violin string that has a higher tension will be more responsive to bow strokes but will also produce a brighter tone.
Lower tension violin strings, in contrast, tend to produce warmer and darker tones but also are less responsive to bow strokes and take time to rebound.
You will find three different tensions as you shop for new violin strings; light, medium, and heavy.
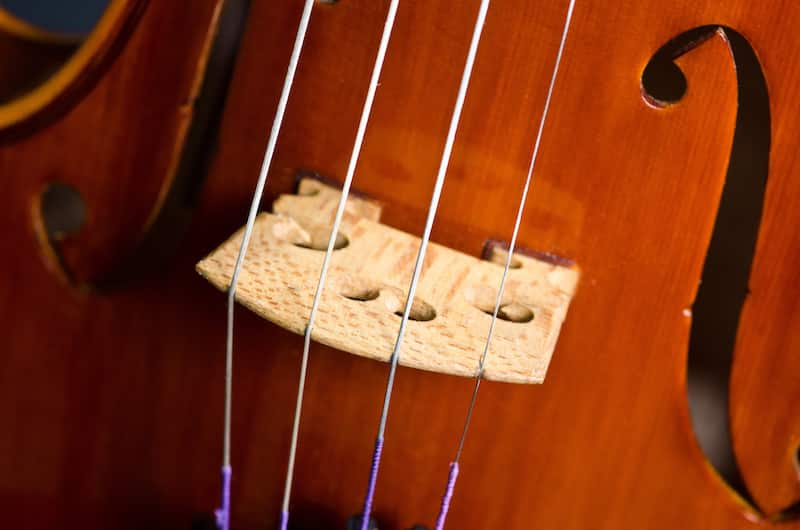
Identifying Which String is Which

The strings of your violin need to be placed on the violin in their proper positions.
From left to right, when looking at a violin from its playing position, the strings of a violin are the G-string, D-string, A-string, and E-string.
If you purchase your violin’s strings as a complete set, then the G-string will be thicker than the D-string, which will be thicker than the A-string, which will be thicker than the E-string.
There are also many string identification charts online that can help to identify different strings based on the string’s manufacturer and the color of the string’s windings.
Check out this handy guide.
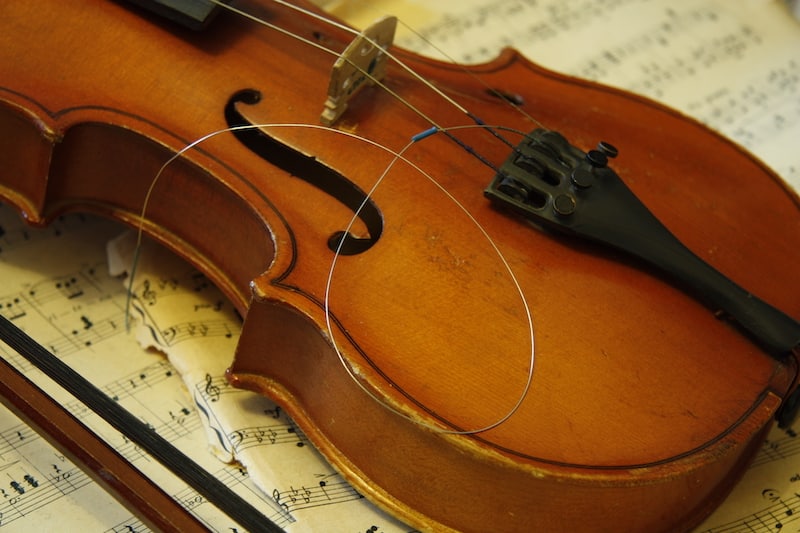
How to String a Violin: Step by Step
When you are changing the strings of your violin, it’s vitally important to change the strings one by one.
Changing the strings of your violin one at a time will prevent the violin from losing tension across its body.
When a violin loses its tension completely, the soundpost inside of its body can shift and the bridge of the violin will collapse.
This will mean you’ll have to make a trip to a luthier to put the soundpost up again which can get expensive.
- Loosen the tuning peg of the string that you would like to change
- Remove the end of the old violin string from the violin’s tailpiece and the opposite end from the violin’s tuning peg
- Place the end of the new violin string into the tailpiece of the violin and the opposite end of the string into the violin’s tuning peg
- Wind the head of the new violin string around the string’s tuning peg
- Repeat the above steps for each of the strings that you need to replace
- Tune your violin using a tuner
When to Change Your Violin Strings
Knowing when it’s time to change your violin strings can be difficult as a beginner.
But you should change your violin’s strings when you notice that the materials of the strings are wearing out.
You may notice that the colors of your strings will look dull or that the strings have different shades on different parts of the strings.
You should clean your violin strings regularly to prevent discoloration but if they don’t look better after a clean it’s a sign that the strings of your violin are worn out and need to be replaced.
Over time, as the strings age, they will begin to unwind and will begin to expose their cores which is another sign it’s time for a new set of strings.
Do not allow your violin’s strings to become completely unwound, as this can make them susceptible to breaking, which can be dangerous due to the tensions of the strings.
When a violin string breaks, it can fly in two different random directions, which can be potentially harmful to you as a violinist and anyone in the area.
How Often Should you Change Your Violin’s Strings?

As a general rule, you should change the strings of your violin at least once every year.
However, the frequency in which you choose to change your violin’s strings depends on your unique situation and how much you play your violin.
If your fingers produce a lot of perspiration as you play your instrument and you notice the oils of your skin breaking down your violin’s strings, then you may need to change the strings more frequently.
However, if you routinely wipe your violin’s strings off after every playing session, cleaning the perspiration and rosin off of the strings, then you may be able to change your violin’s strings less frequently.
Conclusion
The sounds that are produced by violin strings gradually get duller as the strings age.
You will enjoy the sound that your violin’s new set of strings will produce.
As you practice changing the strings of your violin more, you will begin to get increasingly quicker through the process and will also know which strings you like the best.
As with everything, practice makes perfect, and learning how to change your violin’s strings is no different.