Regular cleaning of your violin is a crucial part of its maintenance, and ensures that it looks and sounds as good as possible! Violins are constantly subject to clouds of rosin, the natural oils from our fingerprints, and other bits of grease and grime that get stuck to the surface. So, how do we prevent the build up of sticky rosin residue and protect the glossy finish?
This post will instruct and guide you through keeping your violin as clean as possible after day to day use. For extensive cleaning or restoration violins should be placed in the safe hands of a professional luthier. These violin makers are the experts, and will know the delicate processes required to give your instrument a full service to make it look and sound good as new!
Before You Begin
Please note: if you have an antique or older violin please do not attempt to clean or polish it with any products as they may be highly corrosive to the varnish.
Antique violins are coated with a delicate spirit-based varnish, which will not stand even the violin-specific cleaning products recommended here.
If you are unsure, please get in touch with the shop where you bought your violin and they will be able to examine your instrument and advise you.
What You Will Need
You won’t need much to be able to clean your fiddle and some of the items you’ll probably have around the house.
But there are a few specialist cleaning products that we’d recommend, especially for getting rid of rosin dust and polishing the wood.
- A couple of microfiber cloths
- Rosin remover
- Violin polish
- A box of tissues
- A few cotton buds (Q-tips)
You can buy these supplies individually or you can purchase a violin cleaning kit like the one below that includes a lot of them.

Step by Step Violin Cleaning Instructions
Step 1: Prepare
Before you start the cleaning process, start by washing your hands with soap and drying them with a towel.
Do not skip this step as with dirty hands you’ll just be making more work for yourself.
Our hands and fingers naturally contain body oils, which can leave little grease marks and interfere with the lustre of the violin’s finish.
We want our hands to be as clean as possible when handling the instrument, so it is best to wash them whenever you are about to play too!
Step 2: Wipe Down the Body
After you have washed your hands, take one of your cleaning cloths and wipe down the body of the violin to remove excess rosin.
A microfiber cloth is best but anything like this one should be good:
- 🎻 SOFT-TOUCH POLISHING CLOTH - MIVI Synthetic Chamois Microfiber Polishing Cloth is engineered from high-quality, lint-free synthetic chamois...
- 🎻 4 COLOR STYLES - The MIVI Synthetic Chamois Microfiber Polishing Cloth is designed by musicians with the highest quality non-scratching...
- 🎻 UNIVERSAL DESIGN- This microfiber-suede cleaning cloth is measured at 12 in. x 12 in. (300mm by 300mm). Universally designed for cleaning or...
If you have a large build up of rosin you will want to be careful of spreading it further, so check how caked the cloth has become and if you need use a cleaner section of it.
Please be gentle here and do not apply to much pressure as your violin is very fragile!
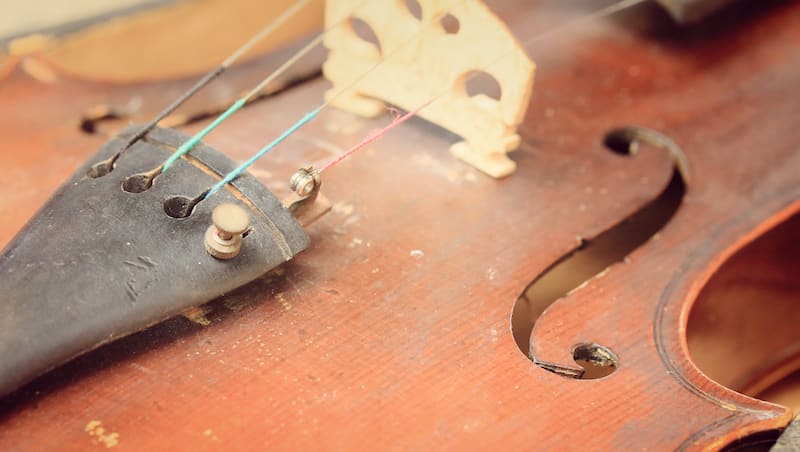
The bridge and F holes can be wiped down with a cotton bud (Q-tip), which will help you get into the smaller corners.
If the tip of the bud becomes discolored change to the other side so that you are not spreading dirt around.
Step 3: Wipe Down your Strings
After you have wiped down the front and back of the body it’s time to wipe down your strings by sliding a clean section of the cloth underneath them.
Additionally, you can gently pinch each string with the cloth and slowly slide it up and down to shake off the rosin.
Step 4: Remove More of the Rosin
Now you will want to use a rosin remover to ensure you have got all the layers of rosin dust off the body.
There are lots of different options but something like the one below should be good and is very inexpensive:

- Original Old Master String Cleaner and Rosin Remover
We’d also recommend using a fresh cleaning cloth or tissue for this part.
Please use the rosin remover sparingly, only a few drops on your cloth at a time is required, with gentle strokes on the affected areas.
You can use this product on the wood section of your bow too, but be careful to not get any product on the bow hair!
Do not use this product on the strings of your violin either; if you are wiping them down regularly this should be enough to get the rosin off.
Check your cloth/tissue after every wipe to see if you need to use a clean patch.
Rosin will show black in color, so if you start to see any brown coloring this may mean you are removing the varnish.
If this is the case stop immediately and consider booking your violin in with a luthier, who will know exactly how delicate or hardy your violin’s varnish is and how to treat it.
Rosin remover may struggle to remove thicker layers of rosin, which will look like grey, sugary, residue.
This is another sign that your violin needs professional cleaning by a luthier.
While this is more expensive than cleaning your violin yourself, it will mean that your violin is kept in the best possible condition and may prevent cumulative damage further along the line.
Step 5: Polish your Violin
If you have managed to clean the violin’s surface with no issues you can now proceed to polishing it.
Please note that polishing over an unclean, sticky surface risks embedding the dirt deeper into the fabric of your violin so it is vital to have it thoroughly cleaned first.
You should use a violin specific polish and NEVER use furniture or other wood polish for this process.
Take a fresh cloth or tissue and add a couple of drops of polish, before rubbing gently over the front and back of the violin to restore the shine.
Be careful to avoid getting any polish on the bridge or strings as this may cause damage and affect the sound of your instrument.
You can polish the stick of your bow, but again, make sure you don’t get any polish on the bow hair!
Now your violin should be looking shiny and clean and ready for you to pick up and play!
How Often Does a Violin Need Cleaning?
At the very least, you should wipe down your violin with a non-abrasive cleaning cloth after every use.
Microfiber, cotton and flannel are some examples of materials that will be safe to use, or alternatively, you can purchase a specific cleaning cloth from a violin shop.
It helps to keep a cleaning cloth or two in your violin case so that you have them to hand whenever you play.
Even with the aid of daily wipe downs the violin will still accumulate excess rosin, grease and grime so it is best to give it a clean every couple of months or so.
If you play less frequently, you will not need to do this quite so often.
You will be able to tell from looking at the violin’s exterior whether it needs a clean; if there are sticky layers of rosin, fingermarks or the glossy finish has dulled down then it’s definitely time to give it some TLC!
Summing up the Violin Cleaning Process
We hope this guide has helped you understand the limits of cleaning your violin, what you can do yourself and when it’s time to get some professional assistance.
Having the right products is half the battle in maintaining the cleanliness of your violin, so make sure you use these regularly to keep your instrument in good shape and remember to wipe it down every time after use!