The valves are the part of the trumpet that most need regular maintenance. Oiling them properly will help keep them moving quickly and freely, so that you can fly between notes with ease!
In this post, we’ll learn a few tips and tricks to oiling the valves on a trumpet that will help you keep your instrument in top shape.
Why You Need to Oil Trumpet Valves
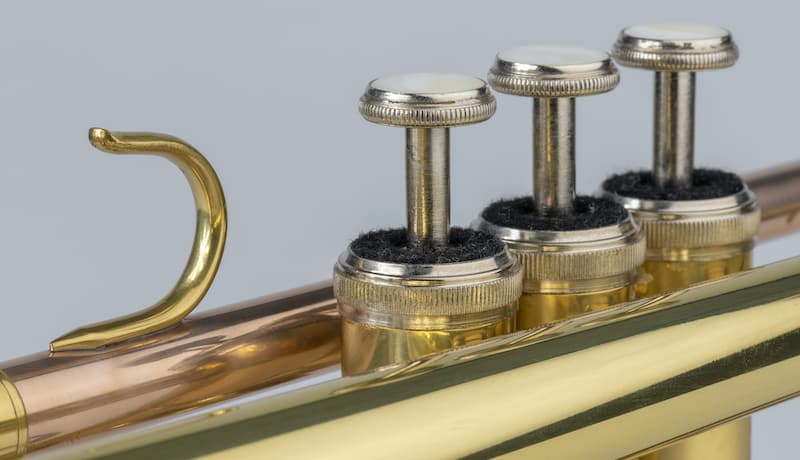
The valves are the main moving part of the trumpet, and they work to lower the pitch of a note by directing air into extra lengths of tubing.
They are designed to fit very snugly into the valve casings, to prevent any air escaping and weakening the sound.
This means that they have to be kept lubricated to allow them to move freely.
Any small amount of dirt could cause them to rub against the valve casing, stopping them from moving or causing scratches on the valve.
Valve oil works by putting a thin layer of slippery lubricant between the valve and the casing, which reduces the amount of friction.
So it’s important to keep this layer by oiling your valves regularly.
This will ensure that the valves are easy to press down, and spring back quickly when released.
If you don’t oil your valves, you will find that they gradually become harder to press, and eventually stop moving altogether – which makes it pretty difficult to play fast pieces!
Types of Oil to Use
There are several manufacturers who make valve oil specifically for brass instruments.
I have found that Ultra Pure valve oil works well for me, but different players may have difference preferences.

Some valve oils made from natural ingredients, others synthetic.
Synthetic valve oils are designed to have a more even size of particles, helping them to keep their slidyness more consistent.
It’s extremely important NOT to use any type of oil other than valve oil specifically engineered for the purpose.
Other oils will cause your valves to jam, and may even damage or corrode the metal in the instrument.
Step by Step Instructions
Step 1: Get Ready
First, get everything you will need to oil your valves.
You’ll need your trumpet, a bottle of valve oil, and a flat surface to lay the trumpet on (you can also do it on your lap when sitting down).
You might want to put a cloth under the trumpet to stop oil getting on your clothes or on the surface.
Then, follow the rest of these steps for each valve, doing one valve at a time.
Step 2: Release the Valve
Unscrew the top valve cap at the top of the valve casing.
This will release the valve from inside the casing.
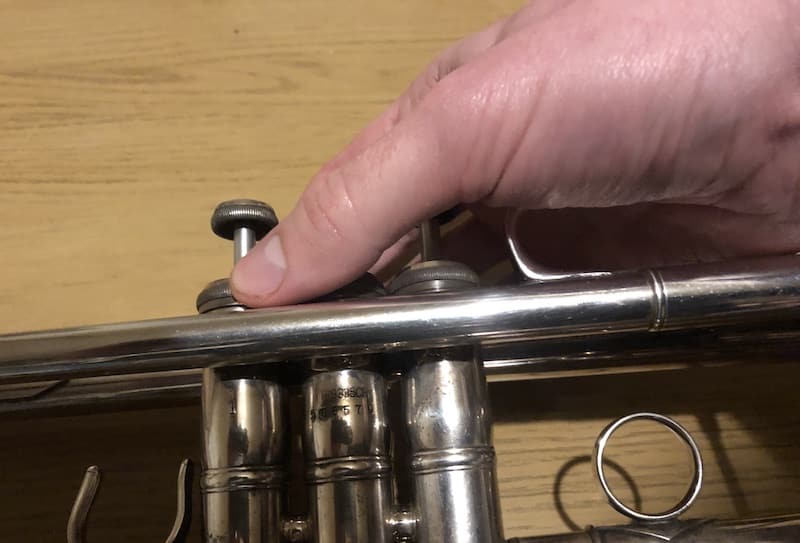
Step 3: (Partly) Remove the Valve
Next, hold the valve at the top finger button, and remove the valve until the top of main part of the piston is out of the valve casing.
You don’t need to remove the valve completely, and in fact it’s better not to do so.
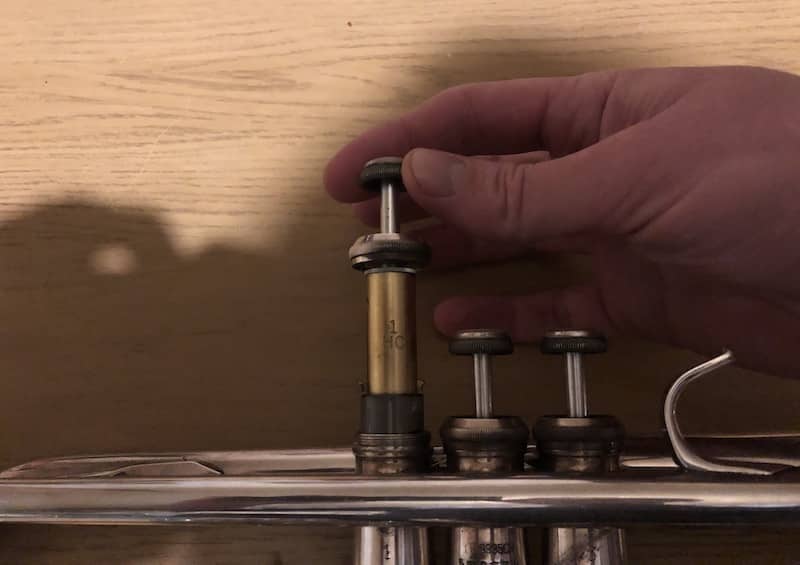
Step 4: Check Alignment
At this point, it’s worth taking note of valve alignment.
There’s usually a number printed on the valve, and you should try to remember which way the number is facing when you take the valve out.
Step 5: Apply the Valve Oil
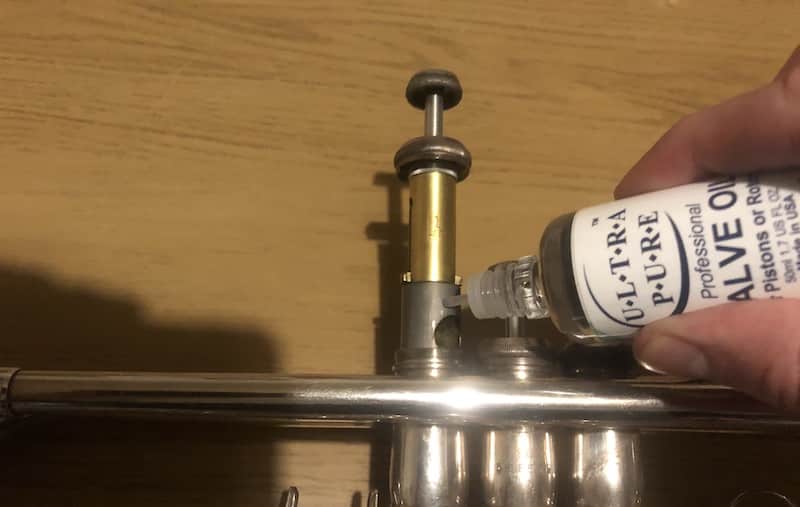
After that, take the lid off your valve oil bottle, and touch the nozzle to the main part of the valve.
Apply a few drops of valve oil to the valve (you might need to gently squeeze the bottle).
The aim here is to get a thin layer of valve oil all around the valve, so you don’t need loads of oil.
Step 6: Replace the Valve
The next step is to replace the valve in the valve casing.
Simply push the valve back into the casing, holding it by the finger button.
Step 7: Check the Alignment Again
You’ll need to have the correct valve alignment, so that it lines up correctly with the tubing.
Make sure the number on the valve (if there is one) is facing the same way as when you took the valve out.
On most trumpets, the valve should ‘click’ as it settles into the correct alignment.
You can gently turn the valve until it locks into position.
You can also check you’ve got the valve in correctly by trying to play a note on the trumpet – if the air is blocked, you’ll need to take the valve out and turn it until it’s aligned.
Step 8: Screw on the Top Valve Cap
Finally, once that’s done, you can go ahead and screw the top valve cap back down, which will hold the valve in position.
You can then repeat these steps with the other valves.
Common Mistakes

There are a few common mistakes that you’ll want to avoid making as you oil your valves.
First of all, move the valve by holding the top finger button, and try to avoid touching the main part of the valve with your fingers.
This will stop you getting valve oil on your hands and oil or dirt on your hands from getting onto the valve.
Secondly, you don’t need to remove the valve completely – just enough to be able to apply valve oil all the way around the piston.
This reduces the risk of damage to the valve from scratches and dents, and prevents you getting the valves mixed up when you put them back in.
Finally, some beginner trumpet players like to oil their valves by just pouring valve oil into the bottom valve cap.
But this means that most of the oil won’t end up on the valve, and can flush dirt and lint from the bottom valve cap back onto the valve, gumming it up even more!
Although it’s a little more work, oiling your valves as described above will make sure they keep moving as they should.
And after a bit of practice, it won’t even take you too long to do it.
How Often Should You Oil Trumpet Valves?
To keep your valves working as well as they can, you should oil them once every couple of days.
Ideally, you want to be oiling your valves before you’re aware of them needing it, not once they start feeling sluggish or sticking.
That’s the best way to make sure that your instrument is in top shape.
Conclusion
Oiling your valves is probably the most important and frequent bit of trumpet maintenance you should be doing.
So try and get in the habit of doing it regularly, and you’ll find it much easier to move freely and quickly between notes, and get on with the work of being the best trumpet player you can be!